A simple post confirming that the same registry key works in Windows 10.
Based largely off of this ITworld write-up by Paul McFedries.
As is commonly known, a “$” in a Windows share name makes it “hidden”. This does not mean it is any more secure; it only obscures the name. That said, Microsoft, by default, enables hidden shares for “Administrative” purposes, including one for the system drive, C: (C$), and any other hard disk partitions you have on your system. Windows Vista+ also sets up the following hidden shares:
| Share | Shared Path | Purpose |
|---|---|---|
| ADMIN$ | %SystemRoot% | Remote administration |
| IPC$ | N/A | Remote interprocess communication |
| print$ | %SystemRoot%\System32\spool\drivers | Access to printer drivers |
Open an elevated Command Prompt and type “net share” and press Enter. You see a listing similar to this:
Share name   Resource                        Remark
-----------------------------------------------------------
C$           C:\                             Default share
D$           D:\                             Default share
ADMIN$       C:\WINDOWS                      Remote Admin
IPC$                                         Remote IPC
print$       C:\System32\spool\drivers       Printer Drivers
Public       C:\Users\Public
So although the C$, D$, and ADMIN$ shares are otherwise hidden, they’re well known, and they represent a small security risk should an intruder get access to your network. To close this hole, you can force Windows Vista to disable these shares. Here are the steps to follow:
- Click Start, type “regedit” in the Search box, and then click regedit.exe in the search results. The User Account Control dialog box appears.
- Say “Yes” to the UAC prompt and the Registry Editor should open.
CAUTION – BE CAREFUL WITH YOUR REGISTRY – ONLY CHANGE
- Open the HKEY_LOCAL_MACHINE branch.
- Open the SYSTEM branch.
- Open the CurrentControlSet branch.
- Open the Services branch.
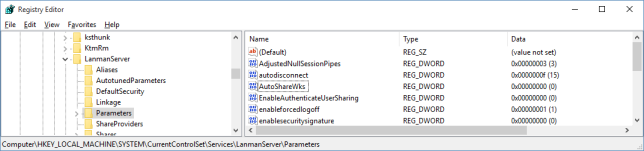
- Open the LanmanServer branch.
- Select the Parameters branch.
- Select Edit, New, “DWORD (32-bit) Value”
- Type “AutoShareWks” and press Enter. (Leave the default value of 0.)
- Reboot or restart the “server” service using a Command Prompt: “net stop server” then “net start server”.

Once again, open an elevated Command Prompt and type “net share” and press Enter. The output should now looks like this:
Share name   Resource                        Remark
-----------------------------------------------------------
IPC$                                         Remote IPC
print$       C:\System32\spool\drivers       Printer Drivers
Public       C:\Users\Public
FYI – Its possible certain applications require the hidden shares. To disable or rollback to “default” simply remove the “AutoShareWks” Registry Key or change the value to “1”.


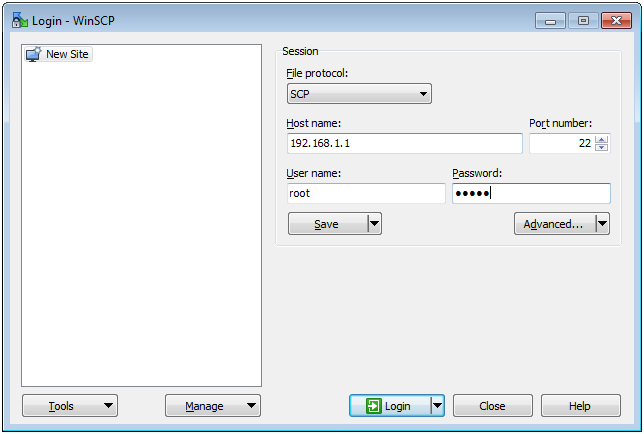
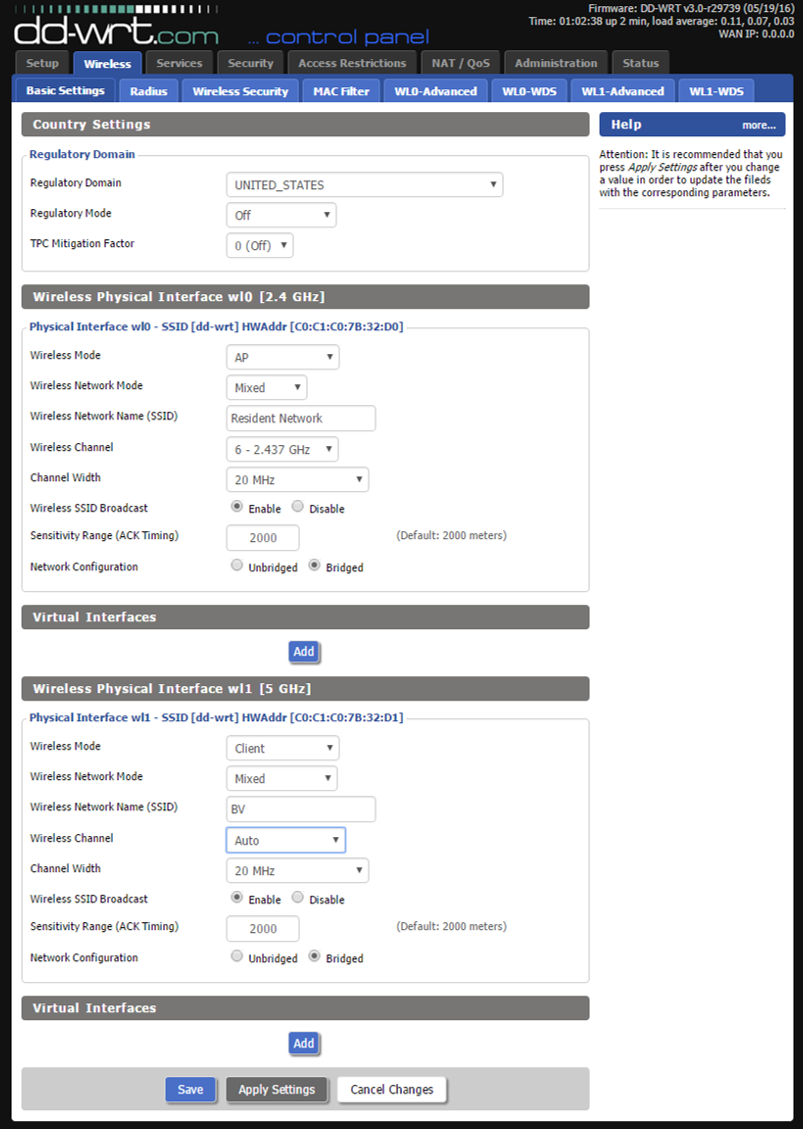


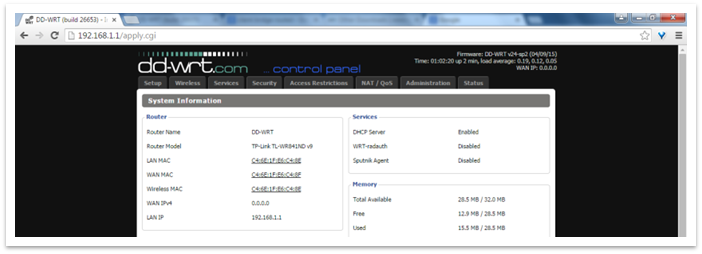 Click “Setup” at the top and enter the following when the webpage prompts you:Username: “root” / Password: “admin” (admin is the default DD-WRT password)


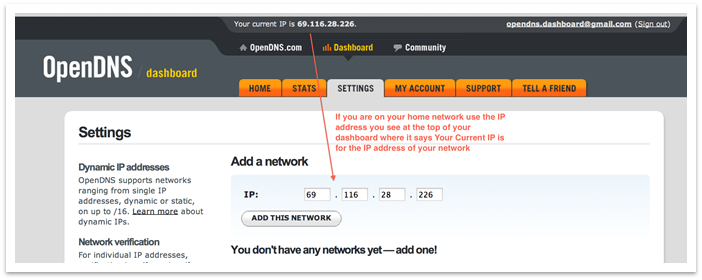
 Do not download the software under #3. The DD-WRT software on the router will handle the auto updating for you if you followed the router setup instructions above under “DDNS”. If you have more questions regarding dynamic IP addresses please see